
Last updated November 16, 2026
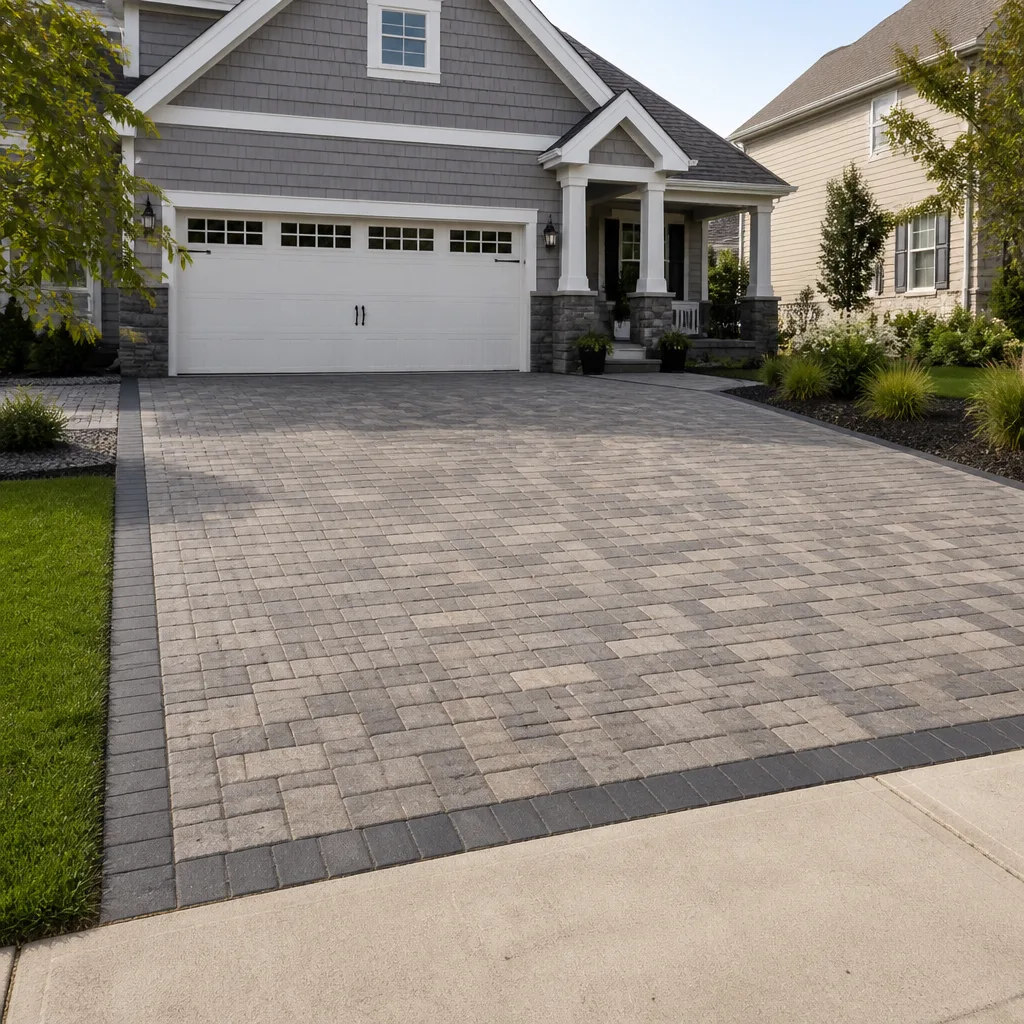 Driveway & pavers
 Kitchen remodeling
 Bathroom remodeling
 Home additions & ADU
 Roofing
 Windows & doors
 Fence
Free written scope consultation - allowances, timeline, and change-order rules on paper before a single trade is scheduled
Driveway & Pavers Troubleshooting in Hayward: Common Problems and How to Fix Them
If you’ve re-sanded the same sunken pavers twice and they keep settling, the problem isn’t the sand. It’s almost certainly a drainage or subgrade issue that no amount of polymeric sand will fix. Most paver repairs fail for one reason: the homeowner treats a symptom, not the cause. A dip in the driveway gets filled. A rolled edge gets tapped down. A widening joint gets caulked. Six months and one rainy Hayward winter later, the same failure is back, and the paver looks like the problem when the real culprit is the base underneath it. This guide teaches you how to diagnose which failure mode you’re actually looking at, so your repair lasts instead of recurring every season.
Quick Answer
Sinking, shifting, and cracking pavers in Hayward are almost always caused by base or drainage failure, not by the pavers themselves. The fix depends on the failure pattern: localized sinkholes point to a compacting subgrade or a broken pipe, edge rollover points to missing edge restraint, and broad settlement points to an under-built or under-compacted base. Matching the repair to the pattern is what makes it last. If you’re unsure which pattern you have, a professional inspection costs nothing and saves you the cost of a bad repair.
Styles & brands we work with
- Kitchen remodeling
- Bathroom remodeling
- Home additions & ADU
- Roofing
- Windows & doors
- Driveway & pavers
- Fence
Table of Contents
- The Three Sinking Patterns and What Each One Means
- Why Hayward’s Wet Winters and Dry Summers Eat Joint Sand
- The Cracking Pattern Diagnostic: Hairlines, Widening Joints, and Heaved Edges
- Partial Repair vs. Full Rebuild: The Honest Answer
- How to Tell If the Last Contractor Used Spec-Grade Base
- Polymeric Sand Formulations: Which Ones Actually Hold Up Here
- The Repair Sequence: What a Proper Fix Actually Involves
- Hayward-Specific Conditions That Accelerate Paver Failure
The Three Sinking Patterns and What Each One Means
Not every dip in a paver driveway is the same failure. In our experience, sinking patterns in Hayward fall into three distinct categories, and each one has a different root cause and a different repair method. If you can identify which pattern you’re looking at, you already know more than most of the “experts” who will quote the job without ever pulling a single paver to look underneath.
Pattern 1: Localized Sinkholes
A localized sinkhole is a single depression, usually a foot or two across, that appears suddenly or over a few weeks. The rest of the driveway remains flat. This pattern almost always points to one of three things:
- Buried organic material or a buried stump that has finally rotted away underneath the base.
- A broken irrigation line or a failed utility sleeve washing out the subgrade below.
- A concentrated point of poor compaction where the base was never properly tamped.
Localized sinkholes are usually the cheapest to fix because the failure is contained. A proper repair means pulling the pavers over the depression, excavating to solid ground, re-compacting in lifts, and re-laying the pavers. It is also the pattern most likely to recur if the repair is done by simply adding sand and tamping the pavers back down. The hollow underneath is still there.
Pattern 2: Edge Rollover
Edge rollover shows up as the pavers along the driveway’s outer boundary tilting or dropping, often with visible gaps opening between them. The middle of the driveway stays sound. That’s the tell. The problem is a missing or failed edge restraint. Pavers are meant to be locked in place by a rigid edge, usually a concrete curb or an aluminum or steel restraint, pinned into the base.
When the edge restraint fails, or when an installer skipped it to save time, the pavers have nowhere to go but laterally. Wheel traffic pushes the whole field outward, and the outer course drops. Re-sanding at the edge does nothing. The fix is to expose the perimeter, install or repair the restraint, and re-set the edge course.
Pattern 3: Broad Settlement
Broad settlement is a gradual dip across a large portion of the driveway, not one hole. The pavers don’t look broken, but the surface no longer drains the way it should, and water pools in the low spot. This pattern points to a base that was either too thin or under-compacted at installation. It’s the most serious category because it means the whole base under the affected area is compromised.
Broad settlement is where the tricky decision comes in. Sometimes a full rebuild of just the affected zone is enough, if the transition to the sound base is done correctly. Sometimes the entire driveway needs to come up because the settlement is a sign of a base that was never built right from the start.
Why Hayward’s Wet Winters and Dry Summers Eat Joint Sand
Hayward sits in a climate with a very specific rhythm: most of the rain arrives between late fall and early spring, then the ground dries out and stays dry for months. That pattern is tough on paver joints. Water saturates the joints during the wet season, then the sun bakes the surface dry during the summer, and the cycle repeats.
What happens in the wet season is that joint sand becomes mobile. Water flows through the joints, especially if the base under the pavers isn’t draining as it should, and it carries fine sand particles with it. The joints open up. Once they’re open, more water gets in faster next time. By the end of a wet winter, the joints that started tight can be significantly eroded, and the pavers have lost the interlock that keeps them stable under traffic.
In the dry season, the opposite problem appears. Polymeric sand that was applied too thin, or that was applied with the wrong technique, dries out and cracks. Once it cracks, the wet season takes it apart.
Which Polymeric Sands Hold Up and Which Don’t
Not all polymeric sand is interchangeable. In our experience working with homeowner-supplied sand and contractor-grade sand across many Hayward driveways, three factors separate the formulations that last from the ones that wash out after one storm season:
- Polymer content and formulation. Sand that’s heavy on polymer and light on filler holds better under water pressure. Cheap blends that use more filler to cut cost will fail first.
- Activation method. Some polymeric sands activate with water; others need a specific misting technique. If the activation step is rushed or the weather isn’t right, the joint never fully cures.
- Joint depth and compaction. A polymeric sand only bonds if it’s packed to the correct depth. Too little sand in the joint and the bond has nothing to grab.
The reason so many Hayward homeowners end up with washed-out polymeric sand isn’t usually the product. It’s the application. If the pavers themselves are loose or the base is settling, no polymeric sand on the market will hold. That’s why we recommend diagnosing the base first, before any sand is touched.
The Cracking Pattern Diagnostic: Hairlines, Widening Joints, and Heaved Edges
Cracks and joints tell you exactly where the failure is happening. They are the driveway’s way of reporting on the base underneath. Here’s how to read them.
Hairline Cracks in the Pavers Themselves
A hairline crack running through the face of a paver means that paver has been flexed beyond its strength. This usually happens because the paver has lost support underneath. Either the base has settled away from the paver’s underside, or the paver was installed with too little bedding sand. When a heavy vehicle rolls over, the paver flexes and cracks.
The presence of hairline cracks in a scattered pattern across the driveway is a warning sign. It often means the base under that whole area is slowly settling, not just one spot. Isolated hairline cracks in a single paver, in a place where a wheel consistently sits, could just be one bad paver. Either way, the fix is to lift the cracked paver, inspect the base underneath, and repair before laying a new one in its place. Laying a fresh paver over a hollow base just means the new one cracks too.
Widening Joints
When joints between pavers open up to a quarter-inch or more, the pavers are moving laterally. This points to two things: a failed edge restraint, or lost joint sand that has allowed the pavers to shift. Widening joints often start at the driveway’s lowest point, where water accumulates and washes out the sand fastest.
Widening joints are not just an aesthetic problem. They’re an entry point for water into the base, which accelerates everything else. Treat them as a warning that the base is losing its water protection.
Heaved Edges
An edge that’s pushed up rather than dropped down is a signature of one thing: expansion. Either the edge restraint is jammed, or the base under the edge has absorbed moisture and swelled. Heaved edges are common where a driveway meets a retaining wall, a curb, or a garage slab, and they’re a sign that drainage against that edge needs attention. Repairs here involve relieving the pressure, correcting the drainage, and resetting the edge course.
Partial Repair vs. Full Rebuild: The Honest Answer
The most common question we hear from Hayward homeowners is some version of “can you just fix the bad spot?” Sometimes the answer is yes. Sometimes it’s no, and a contractor who tells you yes to get the job will be back in two years with the same call.
Here’s the framework we use to decide, and you can use it before you call anyone:
When a Partial Repair Is Structurally Sound
- The failure is localized. One sinkhole in an otherwise flat driveway, or a single course of rolled edge, is a partial repair.
- The surrounding pavers sound solid underfoot. Tap the field around the failure. If they ring hollow, the base is compromised beyond the visible spot.
- The base at the transition is reachable. A proper partial repair requires digging down to sound, compacted base at the perimeter of the failure and blending into it. If the base is sound right up to the edge of the bad spot, the partial repair will hold.
- The face of the pavers is intact. If you can lift and re-lay the pavers without breaking them, the partial repair is economical.
When the Entire Driveway Needs a Rebuild
- The settlement is broad. If the dip spans most of the driveway, there’s no sound base to blend into.
- The pavers are failing across the field. Multiple hairline cracks in many pavers means the base under the whole area is gone.
- The base was never built right. If probing the base (see the next section) reveals it’s too thin or full of organic material, patching it just buries the problem.
- Drainage is structurally wrong. If the driveway slopes toward the house instead of away, no partial repair fixes that. The grading has to be corrected, and that means pulling the field.
The single most useful piece of advice we can give a Hayward homeowner facing this decision: no honest contractor can tell you partial or full without pulling at least a few pavers to inspect the base. If someone quotes a full rebuild from a walkway without ever lifting a paver or probing the base, they’re guessing. If someone quotes a partial repair without knowing whether the base under the failure is sound, they’re guessing too. Get a contractor who inspects before quoting.
How to Tell If the Last Contractor Used Spec-Grade Base
Before you call anyone for a quote, you can do a simple inspection yourself. It won’t tell you everything, but it will tell you whether the previous installation was done to standard or cut short. That’s useful information to have in hand before the conversation begins.
Step 1: Lift One Paver and Look
Pick a paver near the edge of the visible problem. A pry bar or a stiff putty knife will lift it. What you’re looking for:
- Bedding sand layer: A proper installation has a thin, uniform bedding layer, typically around an inch, sitting on top of the compacted base. If the bedding layer is thick, uneven, or nonexistent, the installation was shortcut.
- Base material: The base should be a graded, angular crushed stone, not round river rock and not dirt. Round material doesn’t lock together. Dirt never will.
- Uniformity: The base should be the same material and color throughout. If it changes halfway down, someone switched to a cheaper material.
Step 2: Probe the Base Depth
Use a stiff screwdriver or a long probe to push down through the base until you hit native soil. Note the depth. For a residential driveway with normal passenger vehicle traffic, a compacted base is expected to be substantial; if the probe finds only two or three inches before hitting soft earth, the base is very likely under-built. This single test is often the deciding factor between partial repair and rebuild.
Step 3: Watch the Drainage Behavior
Pour a bucket of water on the driveway during the dry season. Where does it go? On a properly built paver driveway, water should move across the surface and off the edge, not sink in a seasonal low spot. If the water pools in a depression or sits pooling on joints for more than a few seconds, the surface grading is off or the base is settling.
Step 4: Check the Edge Restraint
Look at the perimeter of the driveway. A proper installation has a visible rigid edge restraint: a poured concrete curb, an aluminum or steel edge, or a paver soldier course with a pinned edge behind it. If the pavers just fade into soil with nothing holding the outer course, that is the reason your edge is rolling.
Step 5: Note the Subgrade Condition
If the base depth is marginal but the subgrade (the native soil beneath the base) is compact and well-drained, some installations can still perform. If the subgrade is loose, wet, or organic, that’s a serious red flag. In our experience, most Hayward paver failures happen in the base, but the native soil condition underneath dictates whether a partial repair can ever be trusted.
Polymeric Sand Formulations: Which Ones Actually Hold Up Here
After a wet Hayward winter, we hear the same complaint every spring: “The polymeric sand I put down last summer is already washing out.” Often it isn’t the product. It’s the setup. Three things need to be true for any polymeric sand to last through a wet season:
- The pavers must be tight and stable. If the pavers move, the sand bond cracks. Stabilize the base first.
- The joints must be clean and dry before the sand goes in. Damp joints or joints full of debris are the most common reason polymeric sand fails.
- The sand must be activated correctly. That means the right amount of water, the right temperature window, and enough curing time before traffic.
As for which formulations hold up in Hayward specifically: we look for polymeric sands formulated for wet-dry cycling and for a range of joint widths. Some formulations are optimized for narrow joints, some for wide joints, and installing the wrong type for the joint width will guarantee failure. When we install pavers through our driveway & pavers service, we match the polymeric sand to the paver joint geometry and the local weather pattern rather than using whatever happens to be on hand.
The Repair Sequence: What a Proper Fix Actually Involves
If you want to know whether a contractor is doing the repair correctly, watch the sequence. Here’s what a proper repair of a localized failure looks like, step by step. A shortcut at any stage is where repairs start to fail.
- Diagnose the failure first. Before any pavers come up, the contractor should identify which pattern (localized, edge, broad) the failure belongs to, and probe the base. This step is the difference between a repair and a patch.
- Lift the affected pavers carefully. Pavers should come up intact and be stacked for reuse unless they’re cracked.
- Excavate to solid, stable ground. The excavation should go deeper than the base, past any soft spot.
- Repair the underlying cause. If it’s a broken irrigation line, fix it. If it’s a buried stump, remove it. If the subgrade is soft, stabilize it.
- Rebuild the base in lifts. Base material goes in layers, each one compacted before the next. Lifting compaction is what makes the base last. A single thick lift is a shortcut.
- Re-establish the bedding layer. A uniform, thin layer of bedding sand on the compacted base, screeded flat.
- Re-lay the pavers and check the slope. Water should move across the surface to the correct drainage direction, away from the house.
- Install joint sand and activate. Polymeric or joint sand, packed to spec, activated per the product instructions.
- Restore edge restraint if it was compromised. Any time the repair is near the perimeter, check that the edge restraint is sound.
- Final compaction and cleanup. A final plate-compactor pass settles the repair into the surrounding field.
If a contractor skips any of steps 1, 2, 3, 4, or 5, you’re looking at a repair that has a much higher chance of recurring. If they skip step 9, the edge will roll again. A written, itemized quote that references each of these steps is a good sign you’re dealing with someone who knows what they’re doing.
Hayward-Specific Conditions That Accelerate Paver Failure
Hayward’s specific combination of wet winters and dry, sunny summers is what makes paver repair in this city different from repair in, say, Southern California or the Central Valley. The rain arrives in concentrated stretches through the winter months, then drains off and the ground dries out for months. That cycle re-mobilizes joint sand in a way that a mild, consistent climate wouldn’t.
Neighborhoods in Hayward that sit on slopes or that have older clay soils see faster settlement than flat lots with sandy subgrade. Clay holds water. When it absorbs water in the winter, it expands slightly. When it dries in the summer, it shrinks. That cycle works on the base under a paver driveway over and over, and every cycle loosens the base a little more. In flat neighborhoods with good drainage, paver driveways hold up much longer.
The other Hayward-specific factor is grading. Driveways that slope toward the house rather than away from it are the ones that cause the most serious damage, because water is directed to the building envelope rather than off the lot. That’s a grading correction question, not a paver repair question, and it’s worth knowing that before a contractor starts quoting.
If your driveway sits under a mature tree canopy, you may also be dealing with roots. Certain trees push up pavers over years, and some drive moisture through the surface into the base in concentrated areas. Root-related heaving is its own category and usually requires root management before pavers can be re-laid.
When a repair is part of a broader exterior project, it’s often worth looking at the whole envelope. A driveway that drains badly may be part of the same grading problem as a fence line that sinks or a front walkway that’s heaved. Since we also handle fence installation, we can catch those drainage issues before they undermine the new work.
Common Mistakes to Avoid
- Re-sanding a sunken joint without fixing the base. This is the single most common mistake. Sand hides the dip for a season, then the base keeps settling and the dip comes back worse.
- Tapping down a rolled edge with a rubber mallet. The edge rolled because the restraint failed. Tapping the paver flat doesn’t restore the restraint, so it rolls again the first time a car parks on it.
- Filling a joint crack with caulk or exterior sealant. Sealant traps water against the paver base instead of letting the joint drain. It looks fixed for a few months, then the paver breaks from the trapped moisture.
- Assuming a hairline crack is a cosmetic problem. A hairline crack in a paver means the paver flexed. Flexing means the base under it lost support. Ignore it and the crack widens.
- Buying polymeric sand without checking the joint width. Polymeric sand formulations are tuned to specific joint widths. Using a wide-joint product in a narrow joint (or vice versa) is why a lot of DIY sand jobs wash out after one Hayward winter.
- Accepting a quote without a base inspection. A full-rebuild quote on a fixable partial repair wastes money. A partial-repair quote on a failed base wastes time and comes back to haunt you. Always ask what they inspected and what they found.
- Letting water pool against the garage slab or foundation. A driveway that slopes toward the house is directing every winter storm into the foundation. Fix the grading before you fix the pavers.
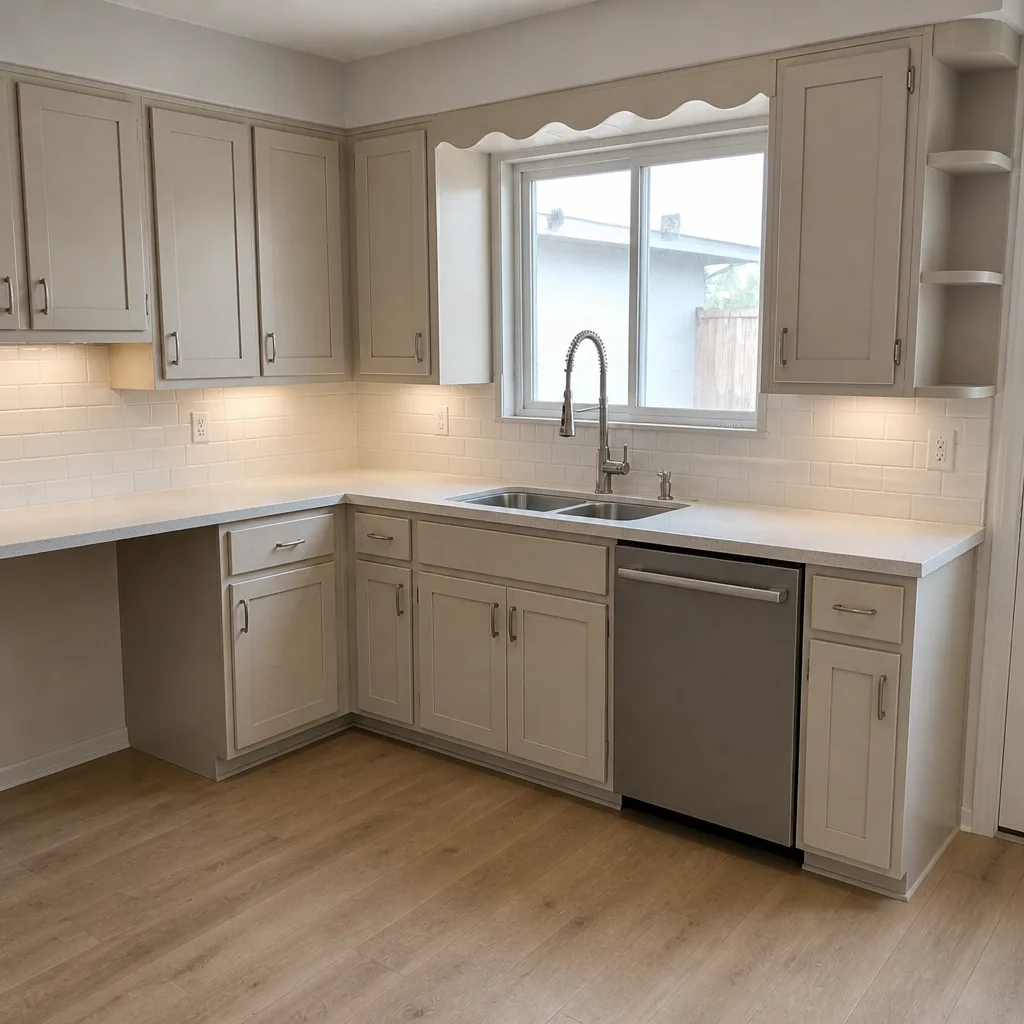
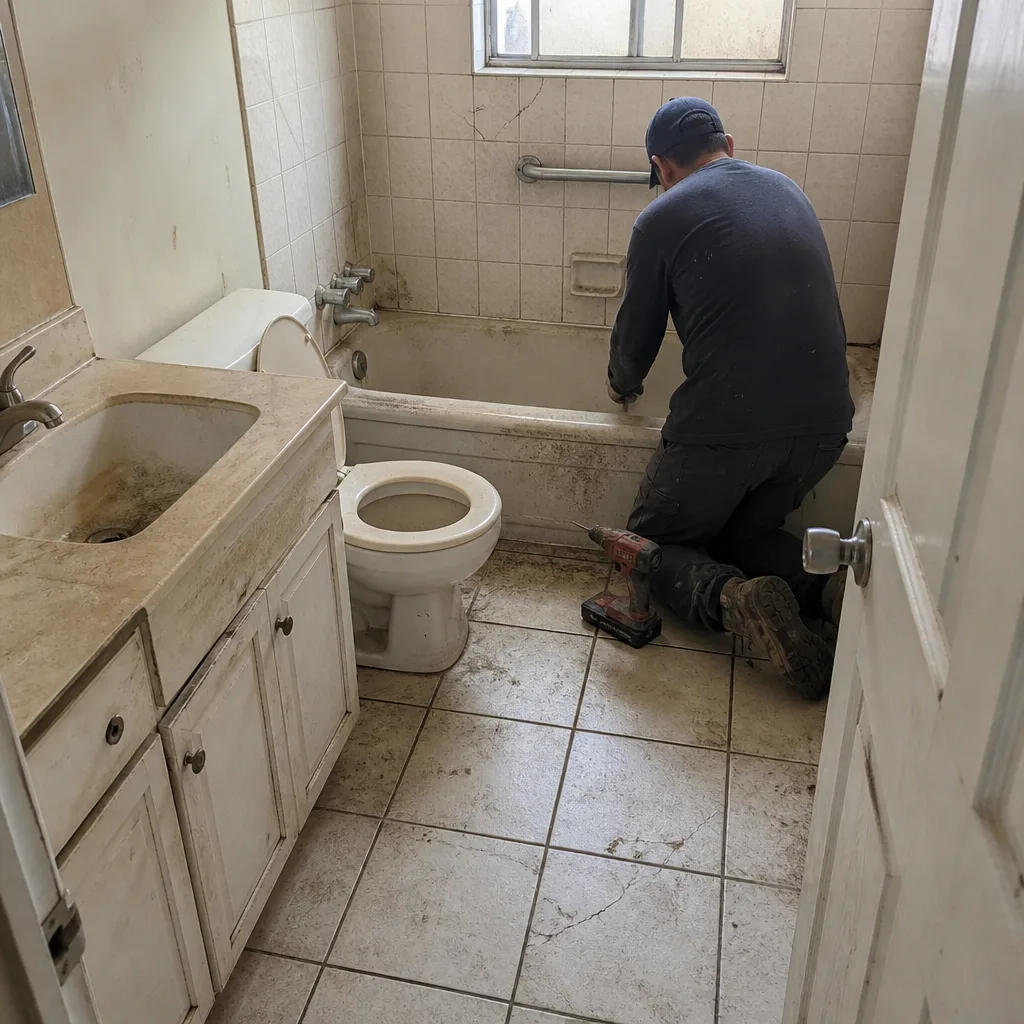
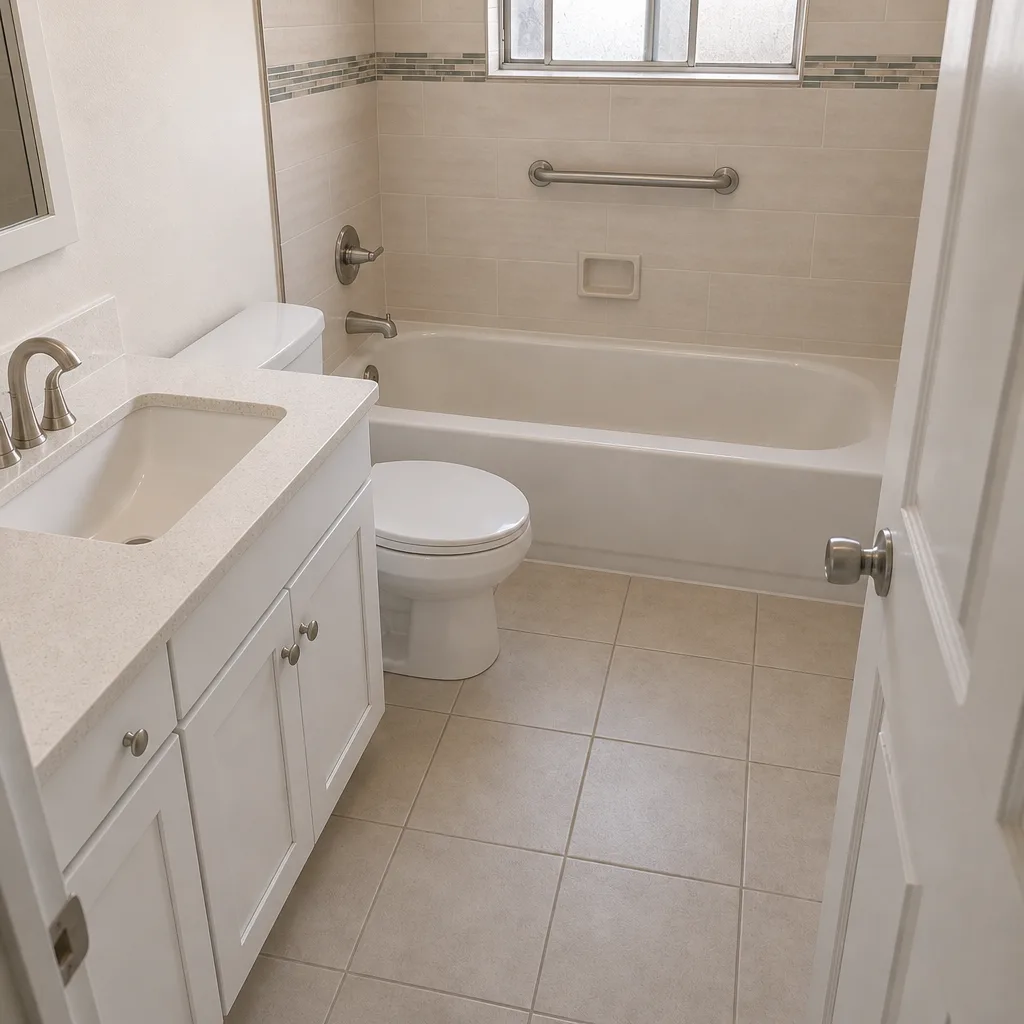
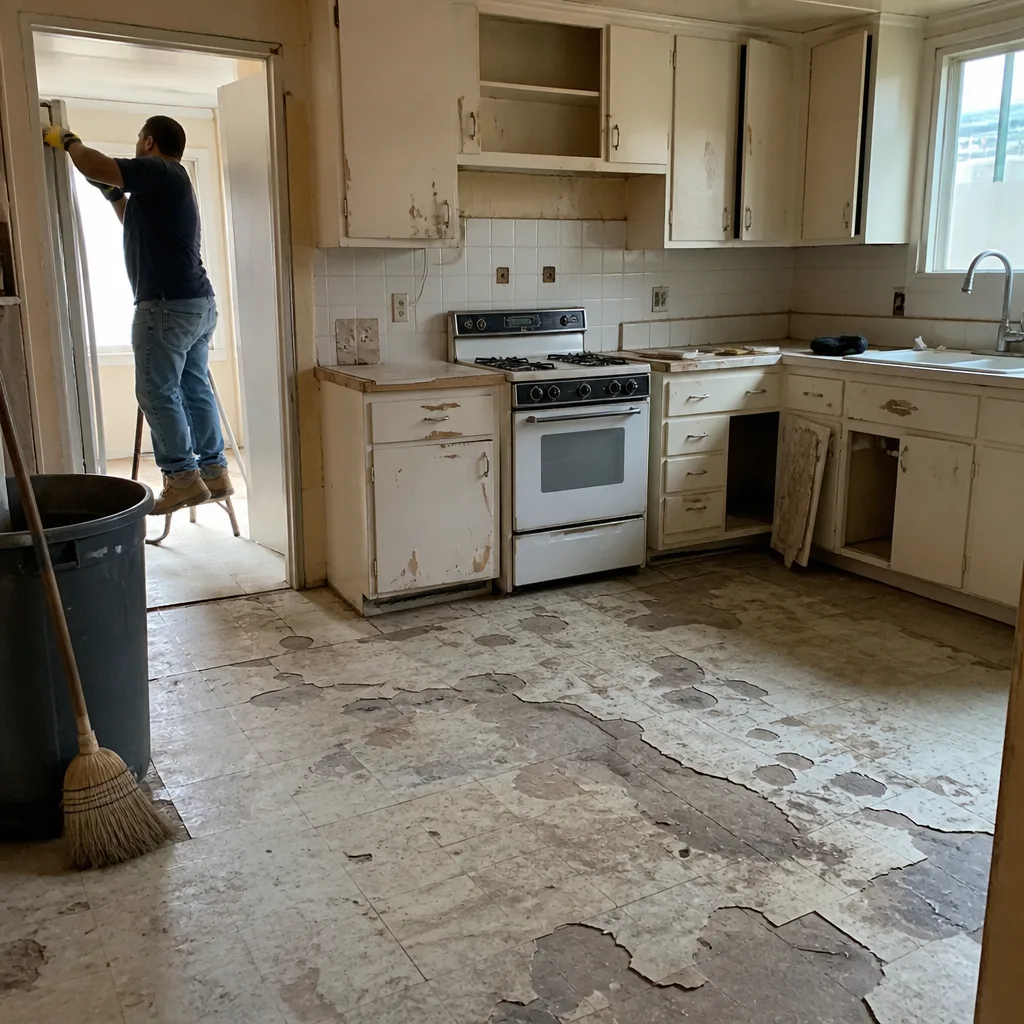
See the difference
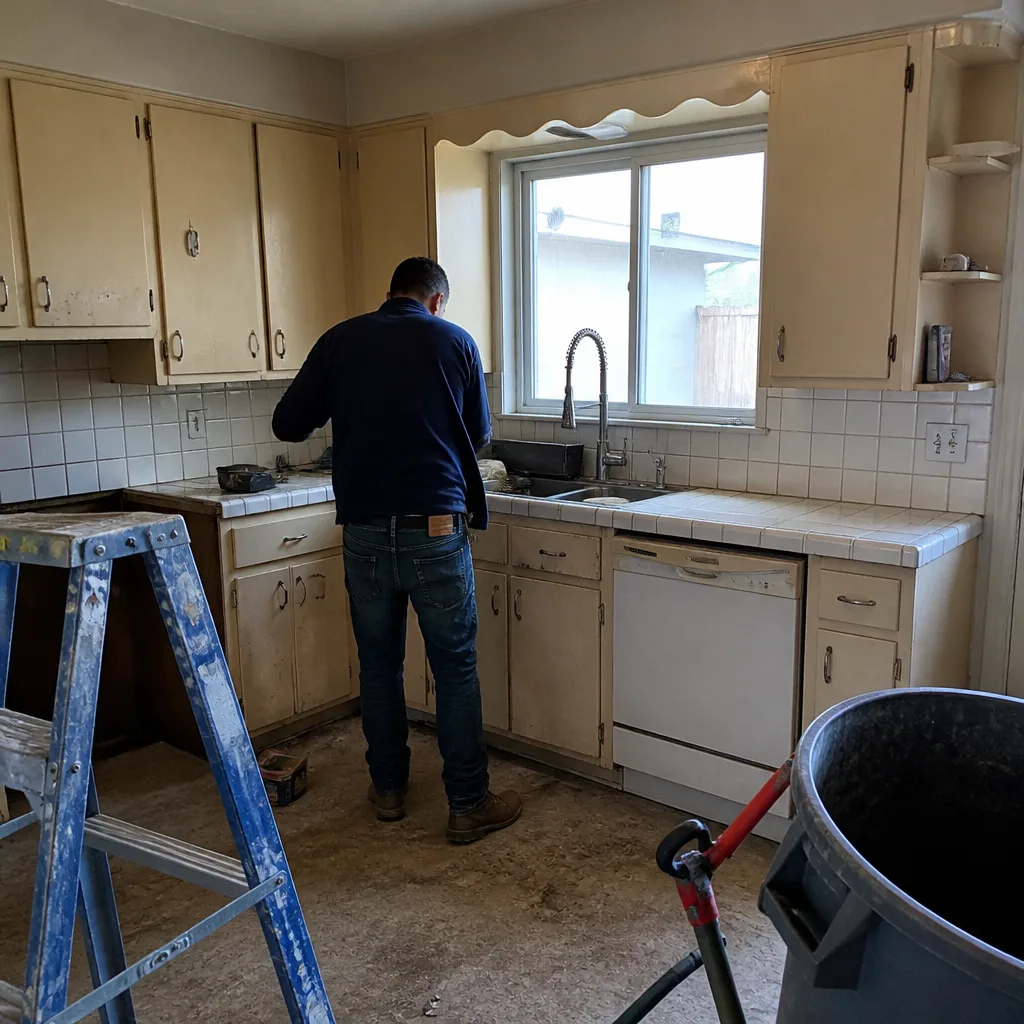 Before
 After
 Before
 After
 Before
 After
When to Call a Professional
Some paver issues are within reach of a careful homeowner: a single joint that needs re-sanding, a small edge paver that needs resetting. Most aren’t. If you’re dealing with any of the following, it’s worth getting a professional inspection before touching the driveway yourself:
- A sinkhole that’s appeared suddenly or grown over a couple of weeks.
- Broad settlement across more than a few square feet of driveway.
- Multiple hairline cracks in pavers across the field.
- An edge that’s rolling along more than one or two pavers.
- Water pooling anywhere on the driveway during the rainy season.
- Any driveway that slopes toward the house rather than away from it.
- Polymeric sand that has washed out after one or two winters.
Each of those points to a base or drainage problem that a homeowner can’t fix with sand and a tamper. Construction Hayward offers free estimates in Hayward, and our team will inspect before quoting. Call (833) 510-5312 to schedule a walk-through.
Frequently Asked Questions
Because re-sanding treats the symptom, not the cause. The sand fills the joints, but if the base under the pavers is settling, the pavers keep sinking. Re-sanding only helps when the base is sound and the joint sand was simply eroded by rain. If the same spot keeps sinking after sanding, the base needs to be inspected and, in most cases, rebuilt. Call (833) 510-5312 for a free inspection before you buy more sand.
We don’t quote by phone because the range depends entirely on which pattern of failure you have and how much of the base is affected. A localized repair of a small edge or one joint is a modest job. A partial rebuild of a section of driveway is a larger one. A full driveway rebuild with new base is the largest. Every one of those requires an inspection before a real number is possible, and the written estimate is what sets the final price. Call (833) 510-5312 for a free estimate.
Sometimes, if the failure is a single localized spot and the base under the surrounding field is sound. But this is the exception, not the rule. Tamping a paver back down over a hollow base hides the problem for a season and accelerates the settlement. If a spot has sunk more than a half inch, or if it’s sunk twice in the same place, the base needs to be investigated by a professional before another DIY attempt. We answer 24/7 if you want to talk it through.
Polymeric sand contains a polymer binder that activates with water and sets firm, so it resists erosion better than plain joint sand. Regular joint sand is just fine-graded sand and will wash out faster under water flow. For a Hayward driveway that sees a wet winter followed by a dry summer, polymeric sand is typically the better choice, provided the joint width and the application method match the product. If the base is failing, though, even the best polymeric sand will wash out within a season.
Lift one paver near the edge of the visible problem and look. A proper base is angular crushed stone, uniform in color and type, sitting at the expected depth under a thin bedding sand layer. If you see rounded river rock, dirt, or a base that changes material halfway down, the installation was shortcut. If the base probe finds only a few inches of material before soft earth, the base was almost certainly under-built. That single observation tells you more about your repair options than anything else.
Many cities require a permit for a full driveway replacement, and the requirements can vary based on how the driveway connects to the street, drainage changes, and lot grading. Ask Hayward’s building department directly about your address before any work begins, and ask any contractor you hire to pull the permit and pass the inspections. We’ll never advise a homeowner to skip a permit that’s required; that’s how a repair turns into a future problem at resale.
The Bottom Line
Most paver repairs fail because the homeowner treats the visible symptom, whether that’s a dip, a widened joint, or a cracked paver, instead of diagnosing the underlying cause. Match the repair to the failure pattern: localized sinkholes point to buried organic material or a broken utility; edge rollover points to failed edge restraint; broad settlement points to a base that was never built to spec. Inspect the base before accepting any quote. When the base is failing, partial repairs are a temporary patch, and a full rebuild is the honest answer. When the base is sound, most repairs are modest and worth doing right the first time.
If you’re facing a repair decision in Hayward and want a free estimate with a base inspection rather than a guess, call Construction Hayward at (833) 510-5312. We answer 24/7. Fast dispatch from 7am to 7pm, Sunday through Friday. Written line-item quotes, and the estimate is free.
For homeowners looking at a driveway repair as part of a larger exterior or interior project, we handle the whole envelope. A well-graded driveway paired with a properly installed fence installation can solve water management in one scope. And when a repair or an added structure like a home additions & ADU touches the driveway, drainage, and structural grading, single-contractor coordination saves a lot of headaches. From there, the same team can step inside and finish a kitchen with KraftMaid cabinetry or a Wellborn layout, and top it with Cambria or Silestone countertops, so the exterior-to-interior work stays consistent. Construction Hayward handles all of it under one contract and one project manager.
Written by the team at Construction Hayward.