
Last updated November 16, 2026
 Home additions & ADU
 Kitchen remodeling
 Bathroom remodeling
 Roofing
 Windows & doors
 Driveway & pavers
 Fence
Free written scope consultation - allowances, timeline, and change-order rules on paper before a single trade is scheduled
Construction Emergency Preparedness Guide for Hayward Homes
Most homeowners treat emergency hardening as a project they’ll get to eventually, separate from the renovation they’re actually planning. That order is backwards. The open walls of a kitchen remodel, the trench for a new driveway, the framing of an addition – these are the exact moments when seismic anchoring, drainage correction, and ember-resistant detailing cost the least and matter the most. Retrofit a cripple wall on its own and you’re paying for access. Do it while the permit is already open, and the access is free. This guide walks through how Hayward homes actually fail in an earthquake, a storm, or a fire event, and how to fold each fix into construction work you’re already planning.
Quick Answer
Construction emergency preparedness for a Hayward home means hardening the structure, the drainage, and the building envelope before a seismic, flood, or wildfire event tests them. The three highest-value upgrades are cripple wall bolting and bracing on pre-1980 homes, slope-away grading with proper runoff control, and ember-resistant roof and vent detailing. Each one is dramatically cheaper when bundled into a planned remodel, addition, or exterior project than when ordered as a standalone retrofit.
Styles & brands we work with
- Kitchen remodeling
- Bathroom remodeling
- Home additions & ADU
- Roofing
- Windows & doors
- Driveway & pavers
- Fence
Table of Contents
- Why Hayward Homes Face a Specific Set of Risks
- Seismic Upgrades: Cripple Walls, Soft Stories, and Foundation Anchors
- Grading, Drainage, and Permeable Paving for Storm Preparedness
- Roof, Vent, and Gutter Upgrades Against Ember Intrusion
- Documenting Improvements for Insurance and Incentive Programs
- Emergency Access and Utility Shutoffs in ADU and Addition Projects
- Sequencing Preparedness Work Into a Remodel
- Common Mistakes to Avoid
Why Hayward Homes Face a Specific Set of Risks
Hayward sits on a rare convergence of hazards, and they don’t arrive independently. The Hayward Fault runs through the city’s core. The East Bay Hills rise directly to the east. The flatlands between them drain toward the bay and pond badly when an atmospheric river stalls over the region. A home in the Hayward hills faces ember exposure and slope drainage problems. A home in the flatlands near Harder Road or Tennyson faces saturated soil and foundation movement. Many homes in the older neighborhoods near downtown Hayward were built before 1980, when seismic anchoring standards were far weaker than they are today.
Preparedness work on a Hayward home is therefore not one project. It’s three overlapping ones, and they share the same substrate: the building envelope, the foundation, and the ground immediately around it. When you’re already opening walls for a remodel or digging for a new driveway, you’re touching all three.
USGS estimates a 60% probability of a magnitude 6.7 or greater earthquake in the Bay Area within the next 30 years. Hayward sits directly on the fault that estimate is largely about. That’s the number worth holding in mind when you’re deciding whether to bolt the cripple wall now or “someday.”
Seismic Upgrades: Cripple Walls, Soft Stories, and Foundation Anchors
Most pre-1980 Hayward homes have a cripple wall – the short stud wall between the foundation and the first floor. If that wall isn’t bolted to the foundation and braced with plywood sheathing, it can rack and collapse in a moderate event, dropping the house off its base. This is fixable, and it’s fixable cheaply when the work is done alongside other construction.
How to tell what your Hayward home needs
- Look at the foundation bolts. If you can see the sill plate sitting on the foundation with no visible anchor bolts, and the house was built before 1980, it likely needs bolting.
- Check the cripple wall bracing. If the short wall between foundation and floor has horizontal shiplap or no sheathing at all, it needs plywood bracing on the interior or exterior face.
- Identify soft-story conditions. If the ground floor is mostly open – a garage door occupying most of the front, or a large open room with few shear walls – the home has a soft-story condition that needs engineered bracing, not just bolting.
- Check the foundation type. A continuous perimeter footing with a stem wall is a candidate for standard bolting. A post-and-pier foundation is a different job and needs an engineer’s assessment.
- Have it assessed by a licensed contractor. A visual inspection during a free estimate will tell you which category your Hayward home falls into.
The CSLB-licensed retrofit process typically involves a building permit, an engineered or prescriptive plan, anchor bolting at specified spacing, plywood shear bracing at cripple walls, and framing connectors at the floor-to-wall junctions. The city inspects the work before walls close – which is a key reason to fold it into a remodel rather than scheduling it separately. If you’re planning a home additions & ADU project, the seismic scope for the existing structure can usually be wrapped into the same permit set.
Grading, Drainage, and Permeable Paving for Storm Preparedness
Atmospheric river events dump inches of rain on Hayward in a short window. The homes that flood are rarely the ones on a creek. They’re the ones where the ground slopes toward the foundation, the downspouts empty at the wall, and there’s no path for water to get away. Grading is the cheapest flood mitigation you can buy, and it’s almost free to do while a driveway or yard project is already open.
What a proper drainage upgrade includes
- Slope-away grading. The ground should fall away from the foundation on all sides, typically with a minimum of six inches of fall over the first ten feet. This is a code-level requirement for new construction and a good target for existing homes during regrading.
- French drain installation. A perforated pipe in a gravel trench, wrapped in filter fabric, running along the uphill side of the foundation or the base of a slope, carries groundwater away before it reaches the footing.
- Permeable driveway paving. Permeable pavers allow rain to infiltrate at the source instead of sheeting toward the house or the street. Belgard, Techo-Bloc, and Unilock all make permeable paver lines that handle residential loads.
- Downspout extensions and splash blocks. Every downspout should discharge at least several feet from the foundation. It’s a small detail that prevents a lot of saturated-soil foundation movement.
- Gutter sizing and guard systems. Undersized gutters overflow at the fascia and soak the wall. A properly sized gutter with a guard system keeps the roof draining the way it should.
If your planned project includes a new hardscape, our driveway & pavers work can be specified with permeability and drainage in mind from the first drawing. That’s the difference between paving over a drainage problem and solving it.
Roof, Vent, and Gutter Upgrades Against Ember Intrusion
Wildfire embers don’t need to reach a home’s wall to ignite it. They enter through vents, lodge in gutters, and land on combustible roof coverings. The East Bay Hills fire exposure pattern means Hayward homes in the hills and the upper flatlands should treat the roof assembly as their first line of defense. Three upgrades do most of the work.
Ember-resistant vents
Standard foundation and attic vents have openings large enough for embers to pass through. Ember-resistant vent designs use smaller openings or a flame-arresting matrix. They’re a small line item at the roof or crawlspace stage, and they matter most on homes with vent openings facing downhill toward vegetation.
Class A roofing materials
Class A is the highest fire-resistance rating for roof coverings. Asphalt shingles, clay tile, and metal all have Class A options. GAF, CertainTeed, and Owens Corning all produce Class A rated shingle lines. If you’re re-roofing anyway, the Class A rating is typically a specification choice within the same product family rather than a cost premium – which makes it one of the easiest preparedness wins on the entire house.
Gutter guard systems
Gutters packed with dry leaves and needles are where embers land and smolder. A gutter guard system stops the accumulation at the source. Combined with regular clearing, it removes one of the ignition points that’s easiest to overlook.
The roof and eaves are also the right time to check that any drainage from the roof is properly directed – a full construction scope on the roof update lets the gutter, downspout, and site drainage plan all get resolved in one project rather than three.
Documenting Improvements for Insurance and Incentive Programs
Preparedness improvements carry value beyond the hardening itself. Insurance carriers, mortgage lenders, and public incentive programs all treat documented upgrades differently than undocumented ones. The documentation cost is trivial if you build it into the project from the start and expensive to reconstruct afterward.
How to document construction improvements
- Keep the permit records. A closed permit with a passed final inspection is your strongest evidence that the work was done to code and inspected by the city.
- Photograph before and after. Seismic bolting, plywood bracing, and vent replacements are all concealed after the finish goes on. Photograph them while they’re exposed.
- Retain the plans and engineering. If a structural engineer signed off on the retrofit plan, keep the stamped drawings. They document the scope in a form insurers and lenders understand.
- Ask your insurance carrier about FEMA NFIP flood insurance credits. The National Flood Insurance Program recognizes certain mitigation features – including elevation, foundation type, and vent placement – and can adjust premiums based on documented features. The rules change, so contact your carrier to understand the current credit structure for your property.
- Research state seismic retrofit incentive programs. California has offered seismic retrofit incentive programs through the California Earthquake Authority and other state channels at various times. Eligibility and availability change, so check the current program status directly rather than assuming from older information.
- Get a written summary of completed work. Ask your contractor for a one-page work summary listing what was done, what brands and products were installed, and what was inspected. Keep it with the plans.
None of this is difficult. It just has to be planned in, not added on. If you’re working with a full-scope contractor across multiple trades, ask for the work summary at project close – it costs nothing and stops the paper trail from evaporating.
Emergency Access and Utility Shutoffs in ADU and Addition Projects
The time to think about utility shutoffs is during design, not during the emergency. A home addition or ADU project reshapes the building’s circulation, and it’s easy to bury the gas shutoff behind a new fence line or put a hot water heater where the water main shutoff can’t be reached. These are cheap to design correctly and irritating to fix later.
What to specify in any Hayward addition or ADU project
- Gas shutoff accessibility. The gas meter and shutoff valve should be reachable without moving anything, and should not end up behind a new fence, a new hardscape, or an ADU footprint. Ask your contractor to verify the shutoff location against the new plan before the foundation set begins.
- Main water shutoff location. The main water shutoff should be clearly accessible and labeled. If the addition relocates the water service, specify where the new shutoff sits and photograph its location once the wall is closed.
- Electrical panel labeling. Every breaker in the panel should be labeled with the room or appliance it controls. When an addition adds circuits, the panel legend should be updated to reflect the new circuits and the existing labels should still be accurate. This is code-level practice and it matters when someone has to shut off power fast.
- Seismic gas shutoff valve. California has specific code requirements for seismic gas shutoff valves on new construction and in certain retrofit cases. Ask your contractor what’s required for your specific project and location.
- Emergency egress. Every sleeping room needs a compliant egress window. An addition that adds bedrooms should be laid out with egress in mind from the start – retrofitting egress afterward is a structural job.
These items also apply to fence installation and any exterior project that could block access to a meter. “Don’t fence in the shutoff” is a rule that costs nothing to follow and is expensive to undo.
Sequencing Preparedness Work Into a Remodel
Preparedness work goes into a remodel in a specific order. Put it in the wrong place in the schedule and you’ll be opening finished walls to do something that could have been done before the drywall went up.
- Foundation and crawlspace first. Seismic bolting, cripple wall bracing, and foundation anchoring happen before any finish work touches the floor system above them.
- Framing and shear walls next. Soft-story bracing and any new structural shear walls happen during framing, before insulation or drywall.
- Roof and venting. Ember-resistant vents, roof assembly, and gutter systems are resolved at the top of the building envelope, before exterior finish goes on.
- Site drainage and grading. French drains, regrading, and permeable paving happen after the structure is enclosed but before any landscape or hardscape finish.
- Utility labeling and documentation. Panel legends, shutoff labeling, and the documented work summary happen at project close, once every system is final.
The order matters. When you work with one contractor across seven trade categories, the sequencing lives with one project manager rather than three specialists who each assume someone else is checking. That’s the real argument for a single accountable scope on preparedness work: retrofit projects fail more often from coordination gaps than from trade skill.
Common Mistakes to Avoid
- Treating the retrofit as a separate project later. Bolting a cripple wall standalone means paying for access. Bundled into a remodel, the access is already there. The cost difference is substantial.
- Skipping the cripple wall because the visible foundation looks “solid.” A clean-looking perimeter footing says nothing about whether the sill is bolted to it. The failure mode is usually the connection, not the concrete.
- Paving over a drainage problem. Installing a new driveway without addressing the slope that drains toward the foundation trades a runoff problem for a more expensive ponding problem.
- Re-roofing without a Class A specification. If you’re paying for a new roof anyway, selecting a Class A rated covering within the same product family is a small line item with real fire-resistance value.
- Forgetting ember-resistant vents. Homeowners replace roofs and skip vents because they’re behind the drywall or under the house. They’re one of the highest-value ember-intrusion fixes and they’re the easiest to forget.
- Not photographing concealed work. Seismic bolting, plywood bracing, and vent placement are all invisible after finish. Photograph them before they’re covered, and keep the photos with the permit documents.
- Burying a utility shutoff behind new construction. Fences, ADU foundations, and hardscape all have the potential to block a gas or water shutoff. Verify locations against the plan before the foundation is poured.
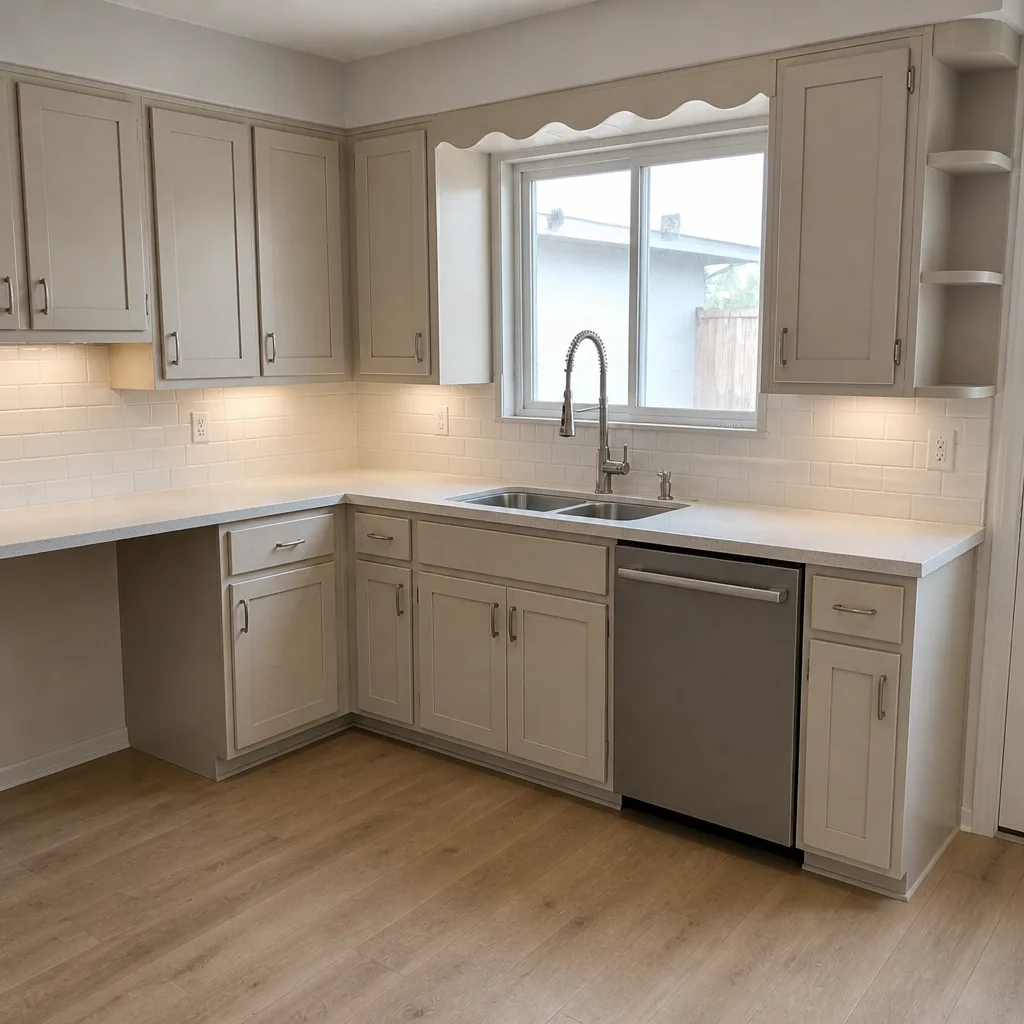
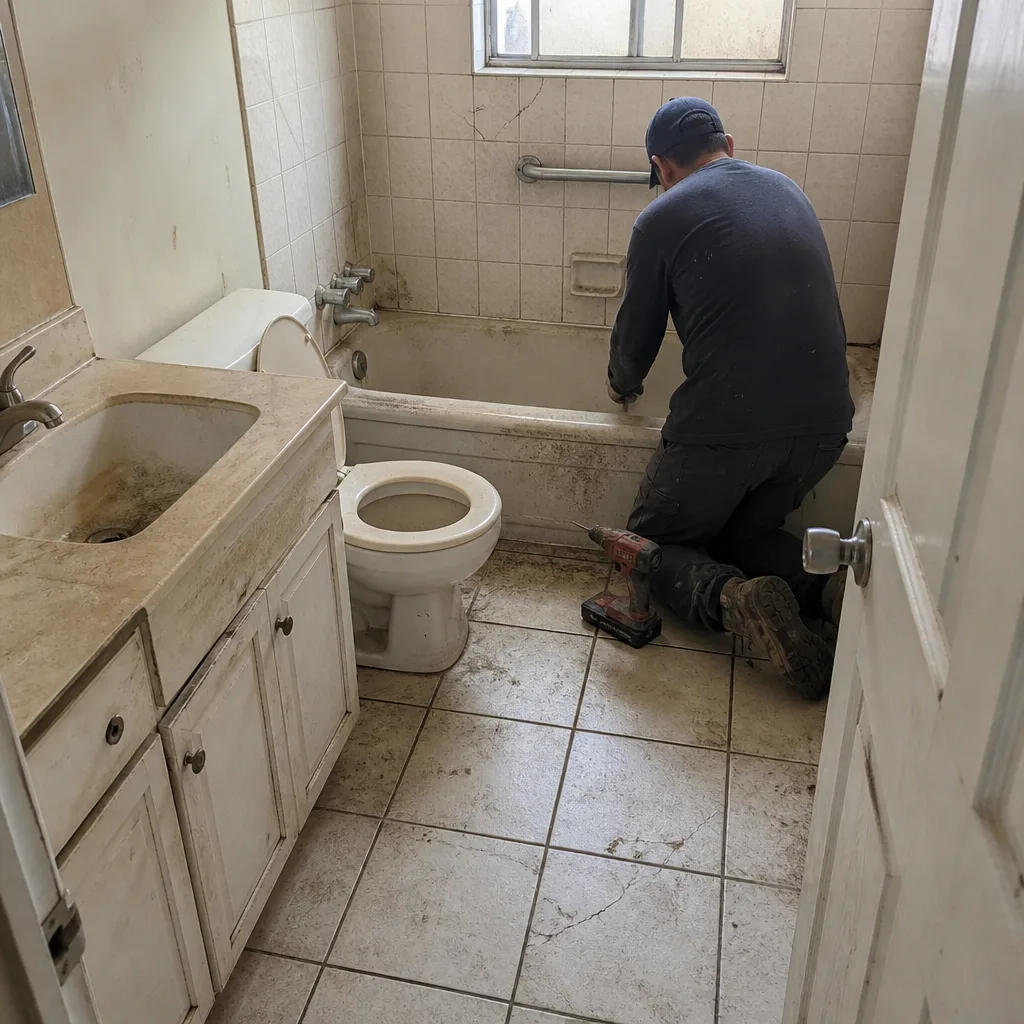
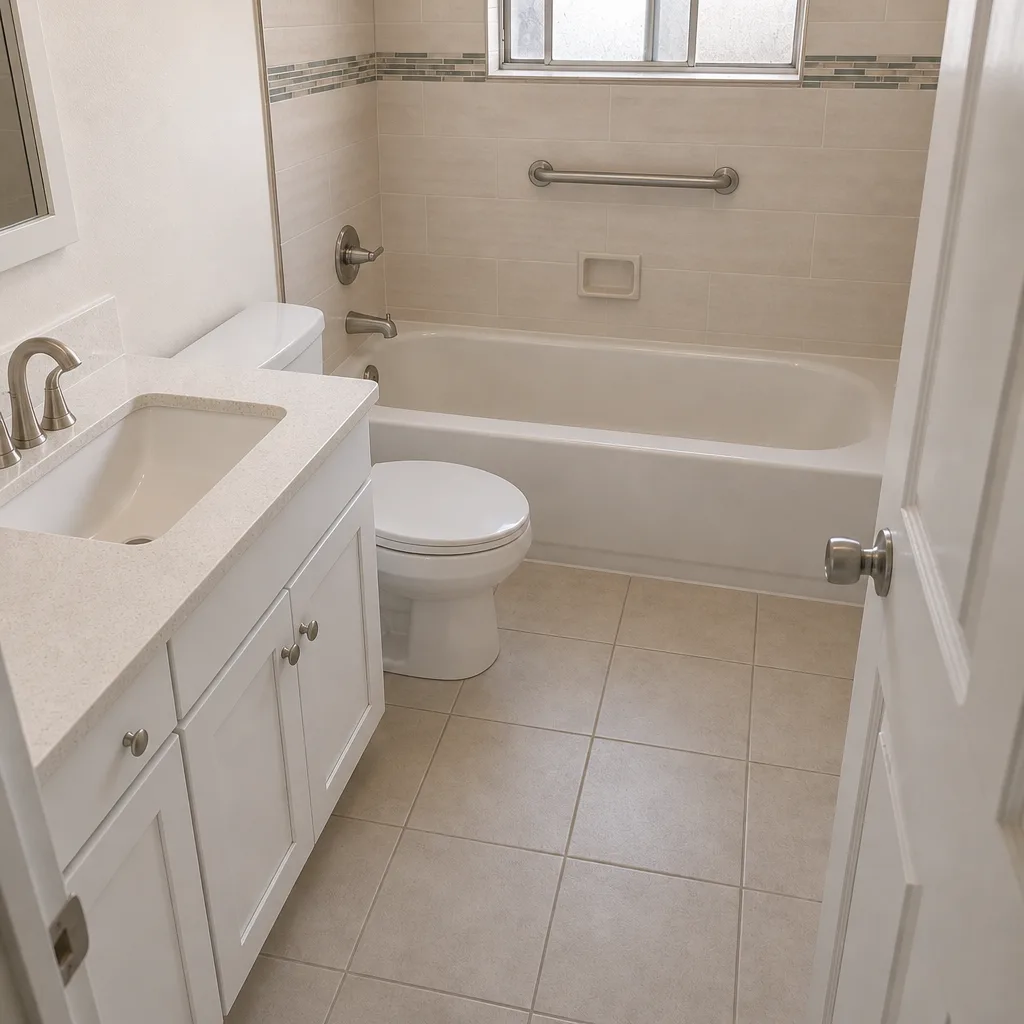
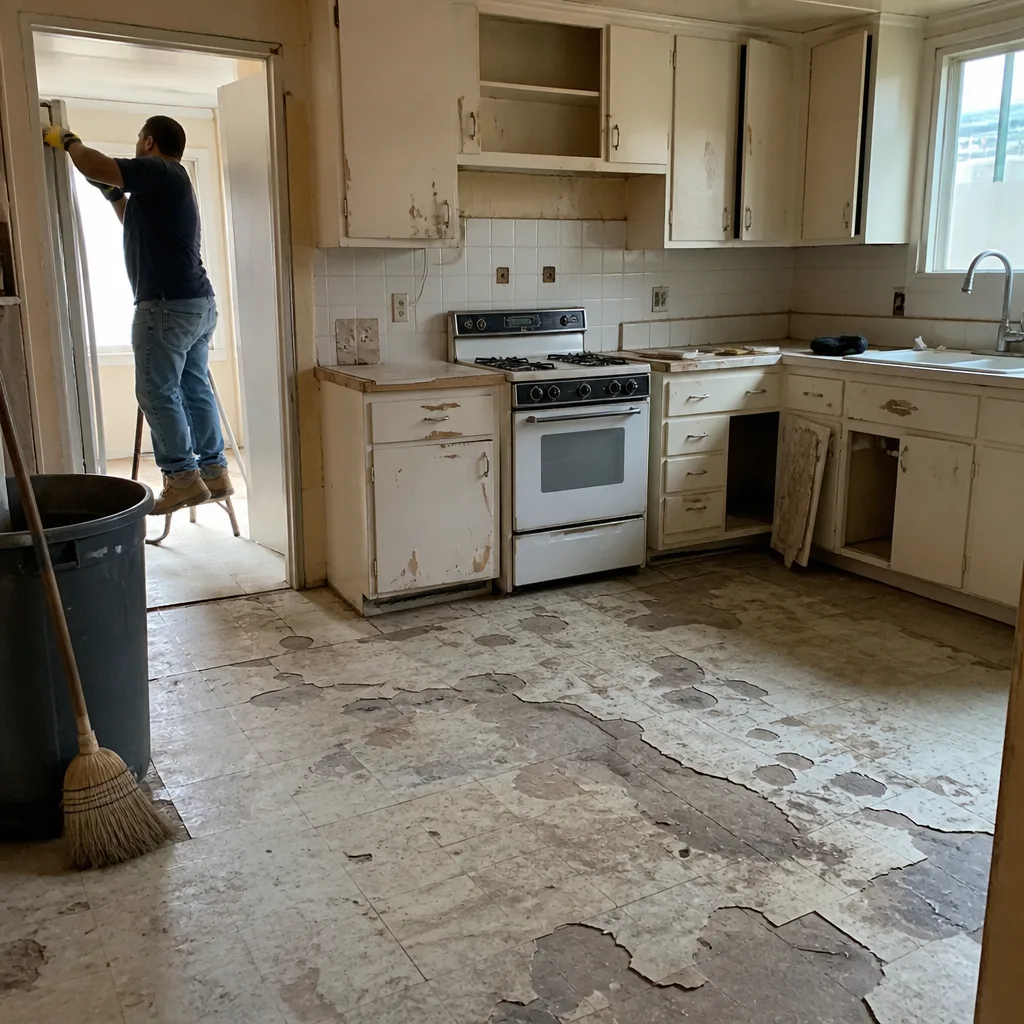
See the difference
 Before
 After
 Before
 After
 Before
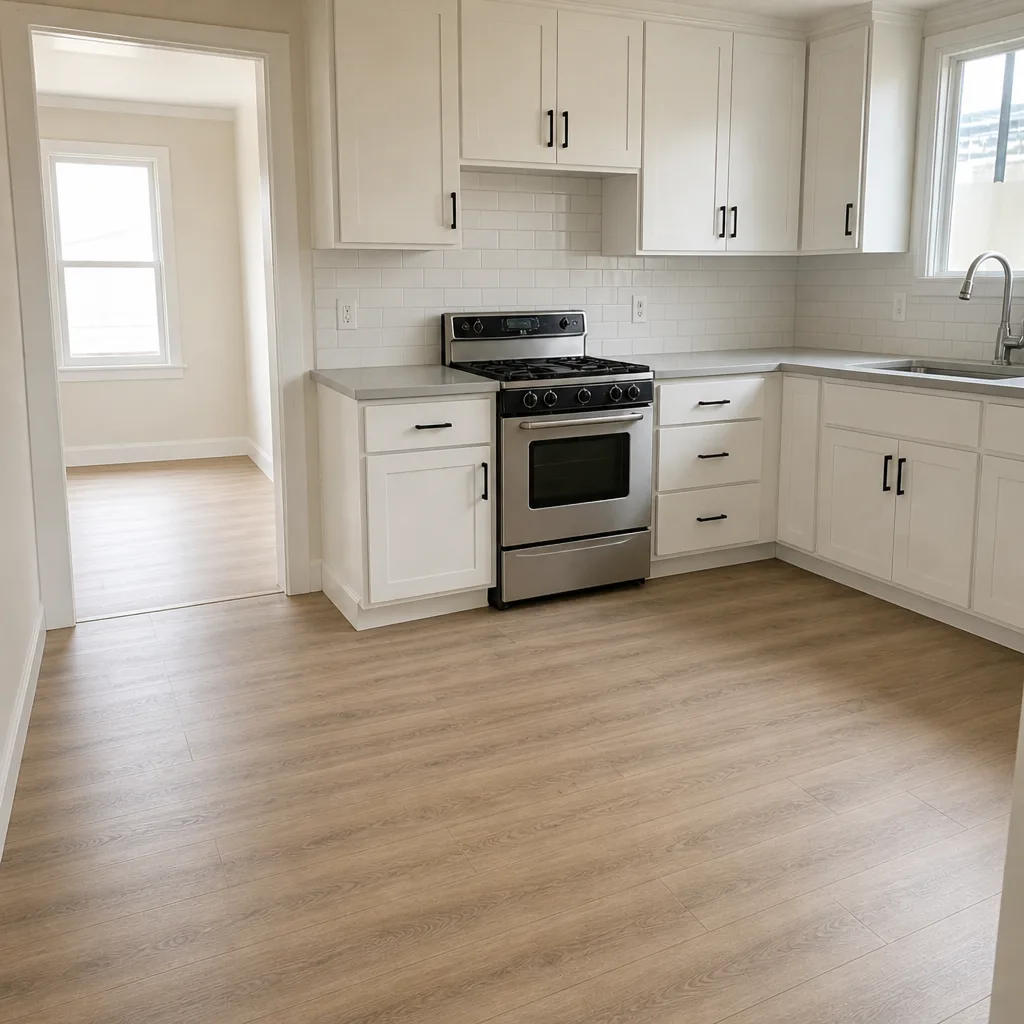 After
When to Call a Professional
If your Hayward home was built before 1980 and you’ve never had the cripple wall inspected, get a licensed contractor to look at it – especially if you’re considering any structural project in the next few years. If your yard slopes toward the foundation, or downspouts empty at the wall, a drainage assessment will tell you whether a French drain or regrading is the right move. If your roof is at end of life and the assembly has standard vents, that’s the moment to specify ember-resistant vents and Class A covering together. And if you’re planning an ADU or addition, get the shutoff and labeling conversation into the design phase before the plan set is finalized.
Construction Hayward offers free estimates in Hayward and can scope a single-project plan that covers the seismic, drainage, and envelope work together. Call (833) 510-5312 to schedule a free estimate.
Frequently Asked Questions
If your Hayward home was built before 1980 and the sill plate isn’t visibly bolted to the foundation, or the short cripple wall between foundation and floor has no plywood bracing, it likely needs a retrofit. A licensed contractor can confirm the condition in a single inspection and tell you whether the home also has a soft-story condition that requires engineered bracing. Call (833) 510-5312 for a free estimate.
Seismic retrofit work on a typical Hayward home is priced per job by written estimate; the scope depends on foundation type, linear footage of cripple wall, and whether soft-story bracing is needed. Those costs drop substantially when bundled into a planned remodel or addition, because the access and finish work are already in the schedule. Call (833) 510-5312 for an exact quote.
No. The written estimate is the price, and change orders only happen if you request scope changes or if concealed conditions are found once walls open – in which case we stop and discuss before anything proceeds. We don’t add fees for surprises. Call (833) 510-5312 for a free written estimate.
Yes. Seismic retrofits, drainage work involving foundation or grading, ADU construction, and additions all require permits in Hayward, and we handle the permit applications and inspections as part of the project scope. The permit record also serves as documentation of the work for insurance and lender purposes. Call (833) 510-5312 to discuss the permit scope for your project.
They’re the same project on most Hayward homes. Slope-away grading, a French drain along the uphill foundation wall, permeable driveway paving, and properly directed downspouts all reduce the amount of water that reaches the foundation during an atmospheric river event. Those are drainage upgrades that double as flood mitigation. Call (833) 510-5312 for a free estimate on drainage and hardscape work together.
Combined seismic, roof, drainage, and finish work typically runs longer than a cosmetic remodel because foundation and structural work has to complete and pass inspection before finish trades can proceed. A realistic timeline is set by the written schedule in the estimate. Call (833) 510-5312 to discuss a project timeline for your Hayward home.
The Bottom Line
Earthquake, flood, and fire preparedness for a Hayward home is not three separate projects. It’s one set of upgrades – seismic anchoring, slope-away grading and drainage, ember-resistant roof and vent detailing – applied to a building envelope you’re already touching. The cost of doing it during a planned remodel is a fraction of doing it later, and the documentation is either built into the permit record or lost. If you’re planning anything from a driveway replacement to a full ADU, that’s the moment to scope the hardening in. Call (833) 510-5312 for a free estimate and a written scope that covers your property’s specific risks.
Written by the team at Construction Hayward.